micro:bit · Physical computing · Fall 2026
micro:bit Tamagotchi
A digital pet that lives or dies on whether you actually did the thing. Finish a real task, press a button, and it eats. Leave it alone and its needs drain until the face on the LED matrix turns into a skull.
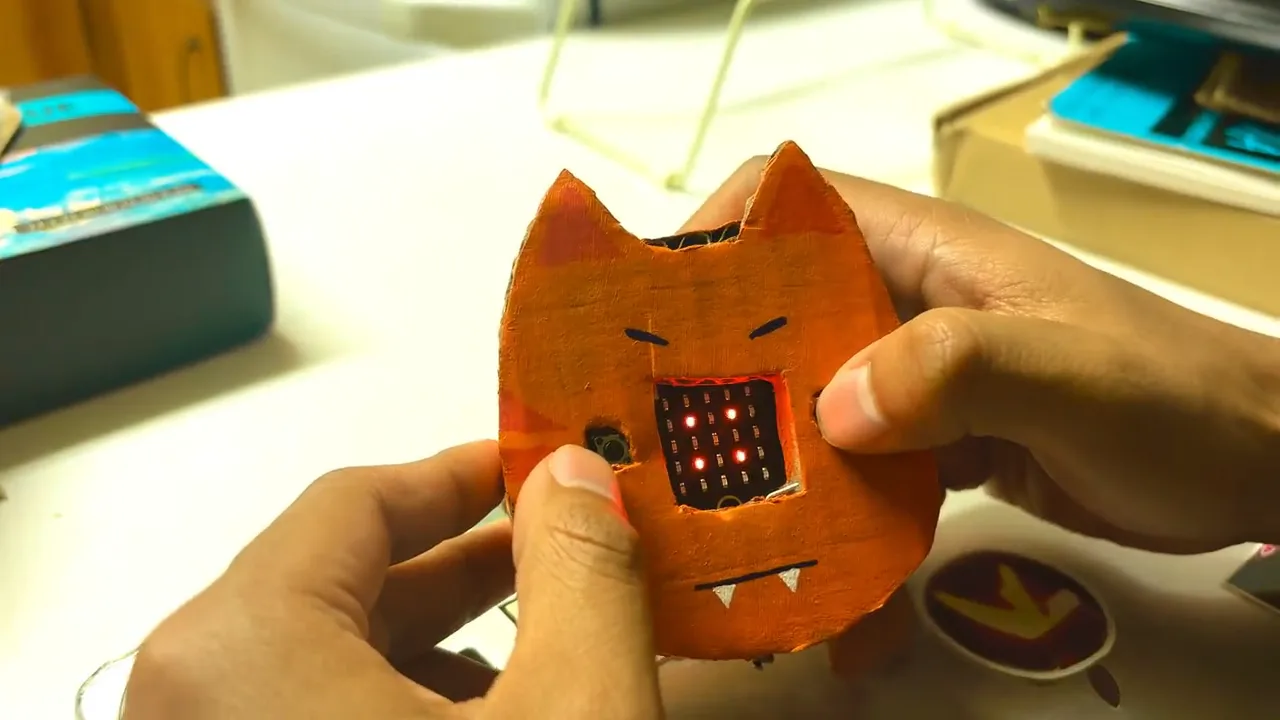
The Idea
A to-do list and a pet, in the same object.
It did not start there. Week one was a micro:bit that played the Nyan Cat theme on A, recorded on B, and made a strange noise when shaken. Week two I wrote down what I actually thought of it.
“I had a very pointless thing at first.”Week 2 notes
The idea that replaced it was a two-in-one: a simple to-do device and a Tamagotchi in the same object. Complete a task and press a button, and the pet gains from it. Ignore it, and it slowly dies. The accountability is the mechanic, not a feature bolted onto one.
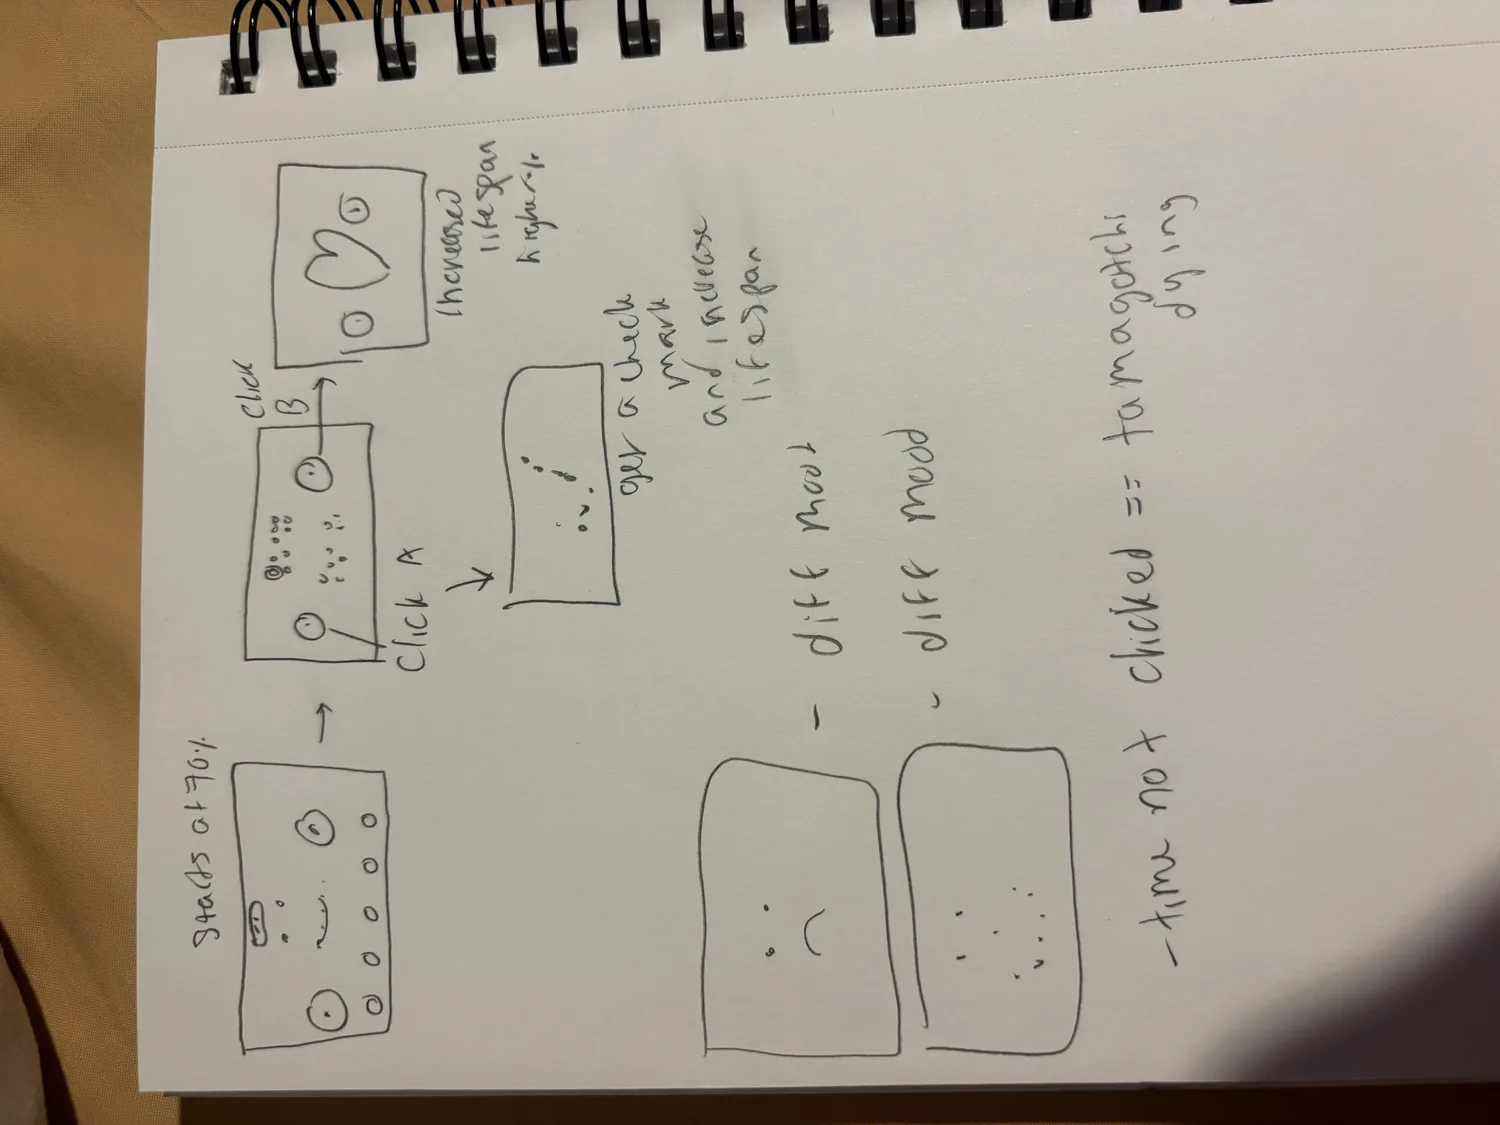
“If I do a task then I click the A button and it increases the lifespan of my tamagotchi … If nothing is clicked, then the tamagotchi slowly dies. So it is something to keep me accountable with my tasks.”Week 2 notes
How It Works
Four inputs, three needs, and a face that tells you where you stand.
No breadboard and no external screen. Everything runs on what the board already has: the LED matrix, the two buttons, the accelerometer, and the speaker.
What you can do
- A, a small task. Food +8, happiness +10, care +1.
- B, a big task. Happiness +25 and care +2, but it costs food and energy. Doing the hard thing is tiring.
- Shake, play. Happiness +8 and care +1, at the cost of food and energy.
- A+B, rest. Energy +25 for a little food.
Every five cumulative care points levels the pet up, with a fanfare. Each action gets its own short animation and sound, so you know it registered without looking closely.
What it costs you to ignore it
Food, happiness, and energy start at 80, 70, and 80, and every 30 seconds they drop by 4, 2, and 3. If food or energy bottoms out, happiness starts losing an extra 5 per cycle, so neglect compounds rather than plateauing.
The average of the three picks the face: fabulous at 85 and above, happy at 55, confused below that, sad the moment any single need drops under 20, and a skull when the whole thing reaches zero. One glance tells you which need you have been avoiding.
Ideation
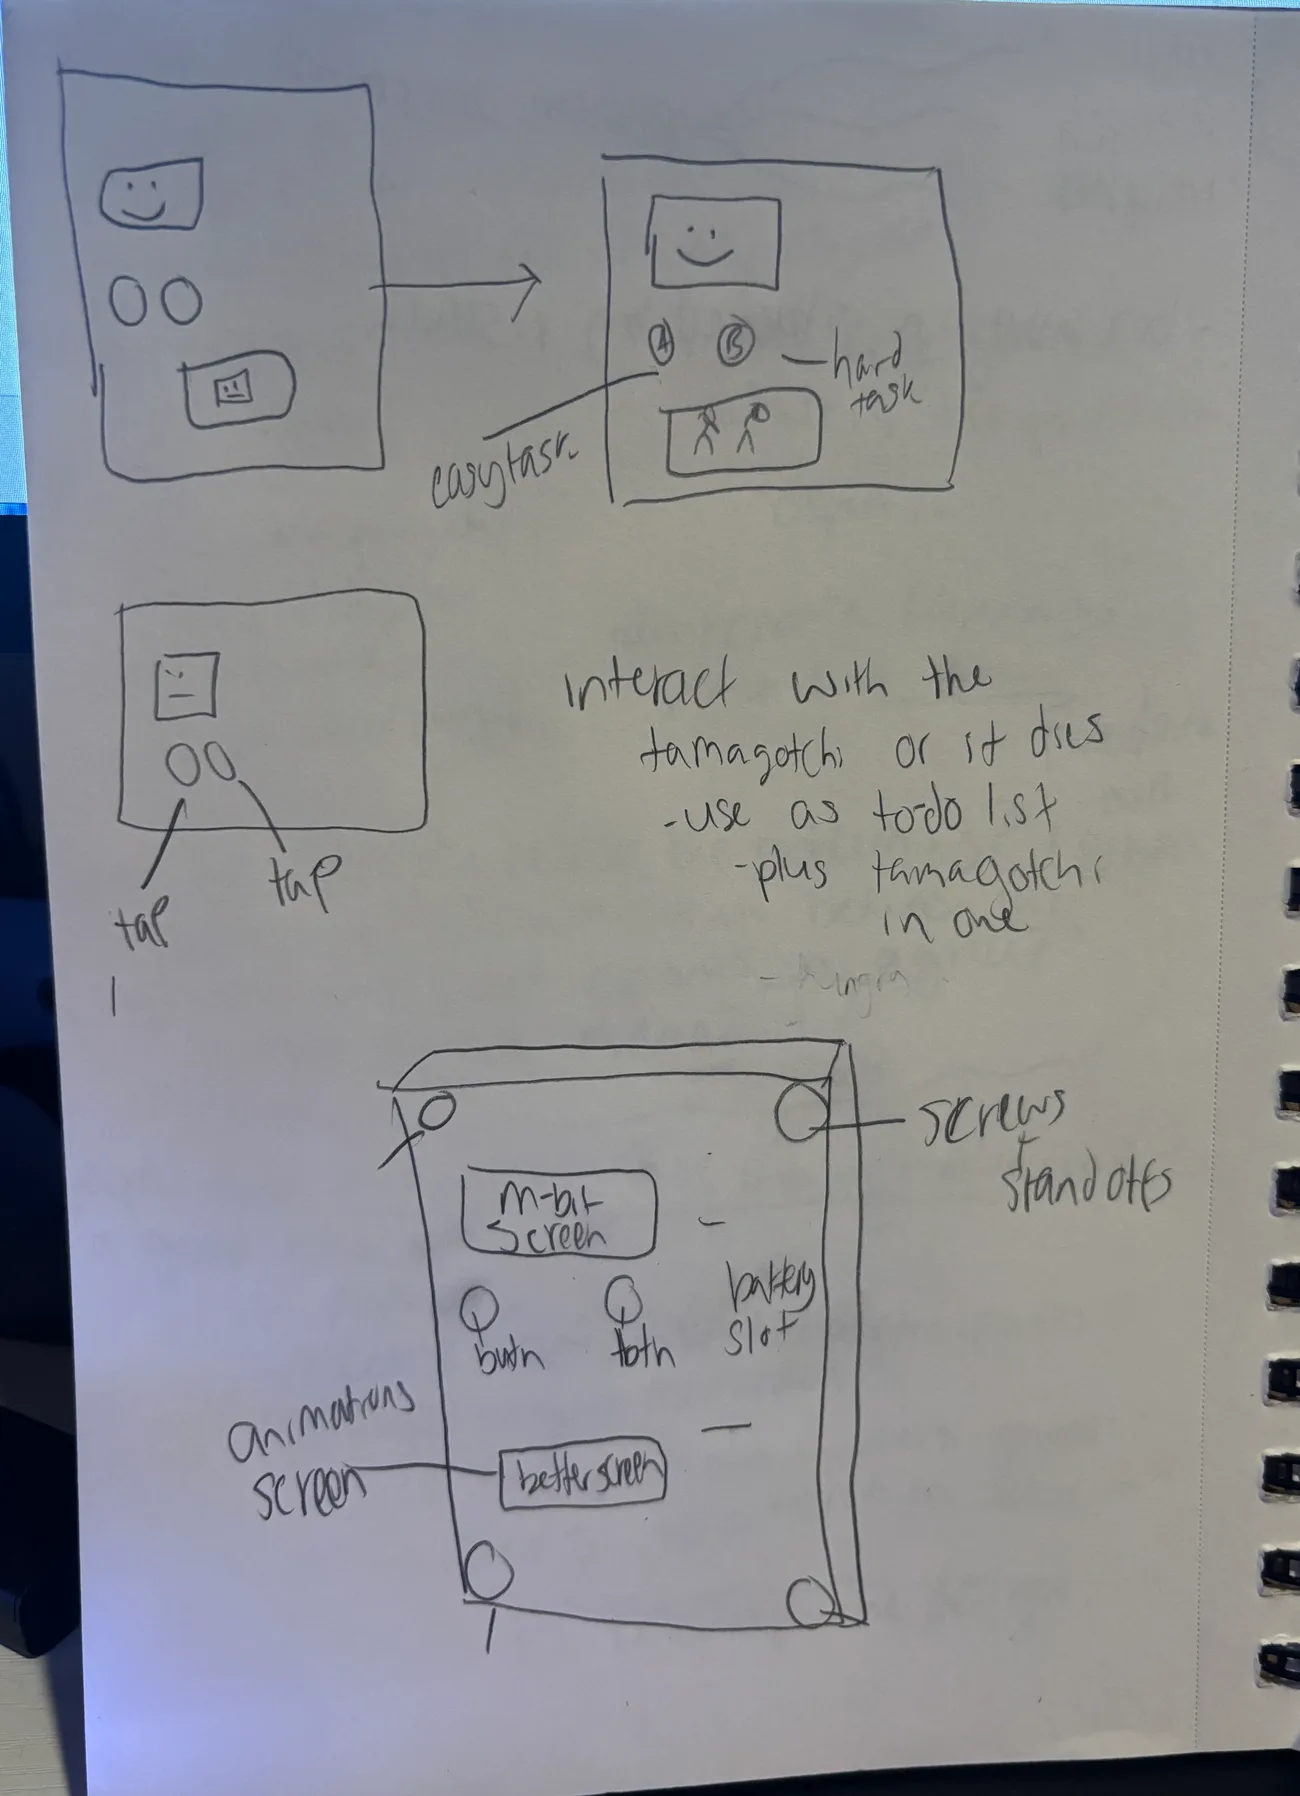
The interaction was drawn on paper before any of it was built.
Which input does what, which moods exist, and what a face looks like at each one. The note in the corner is the whole design in one line, that not pressing anything is itself an input.
Enclosure
Three enclosures, and the cheapest one won.
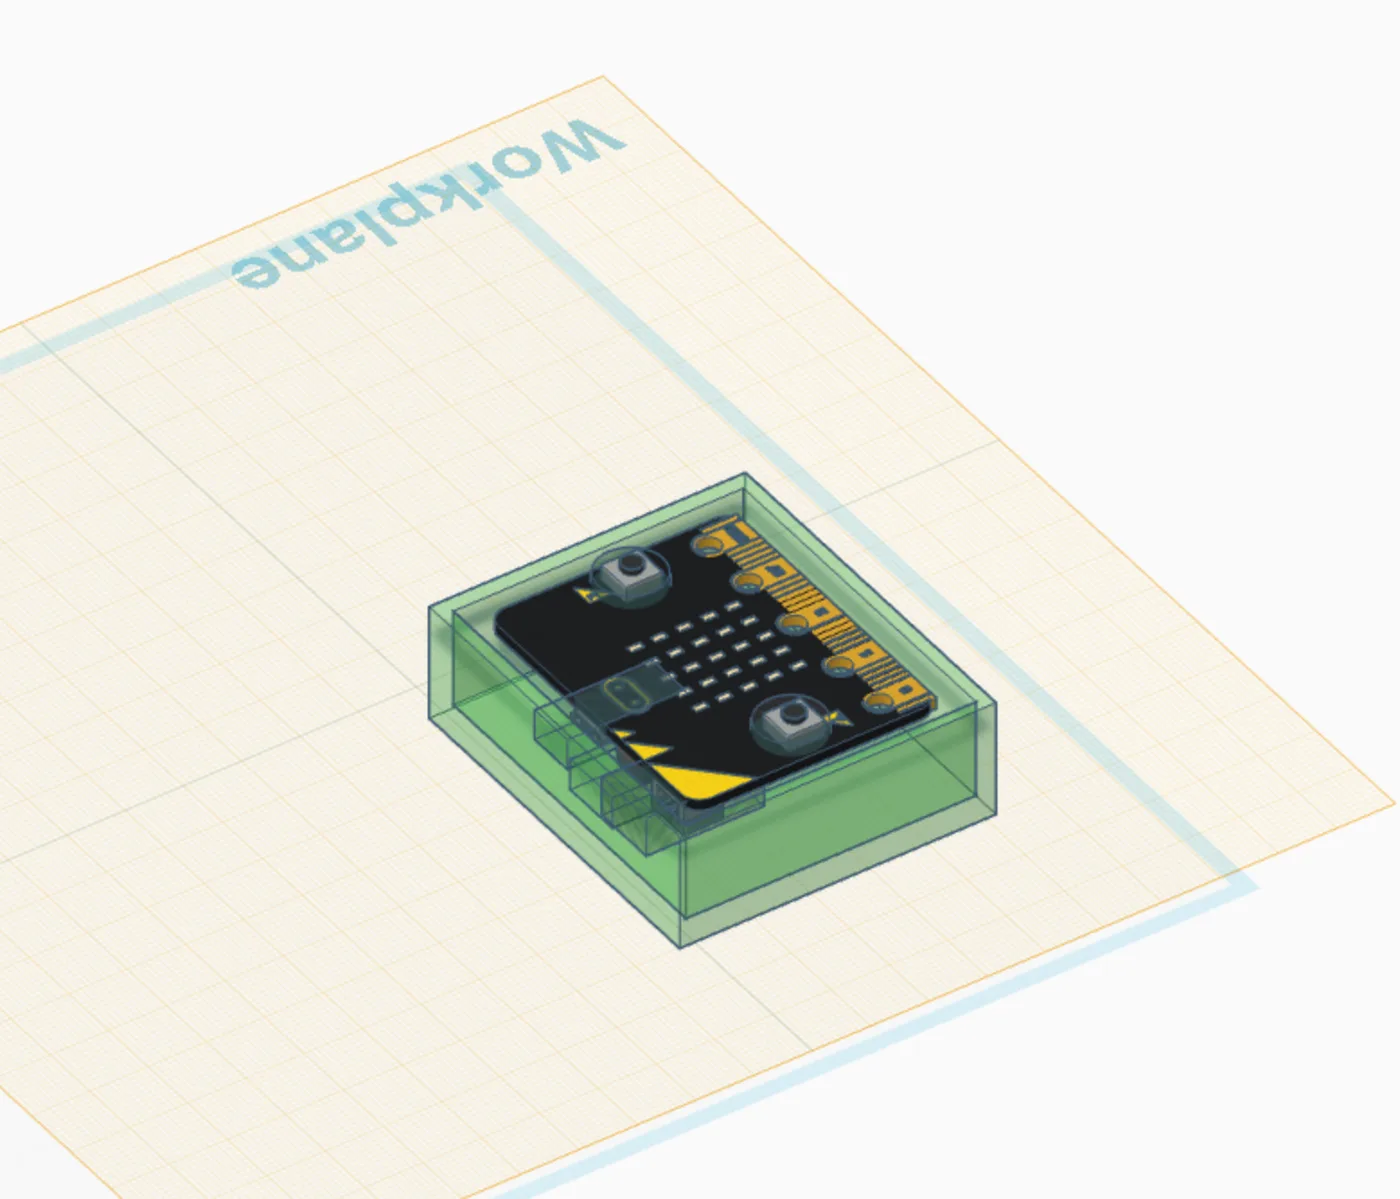
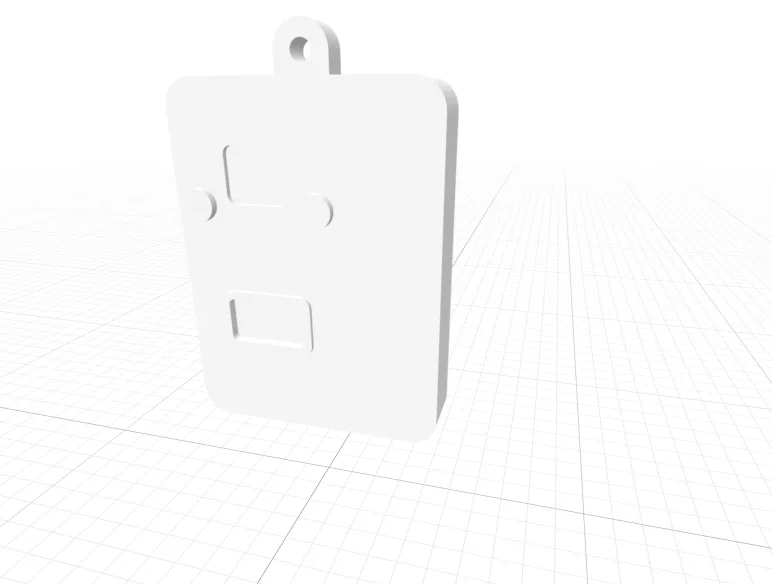
I had never used Fusion or Tinkercad before this, so the first model is a box: a tray the board drops into, sized around the board rather than around a design.
The redesign
The version that made it is a cat, drawn front, back, and side with real dimensions, and with each control labelled by what it should feel like: a small chime for the small task, a larger chime and beat for the big one, shake for play.
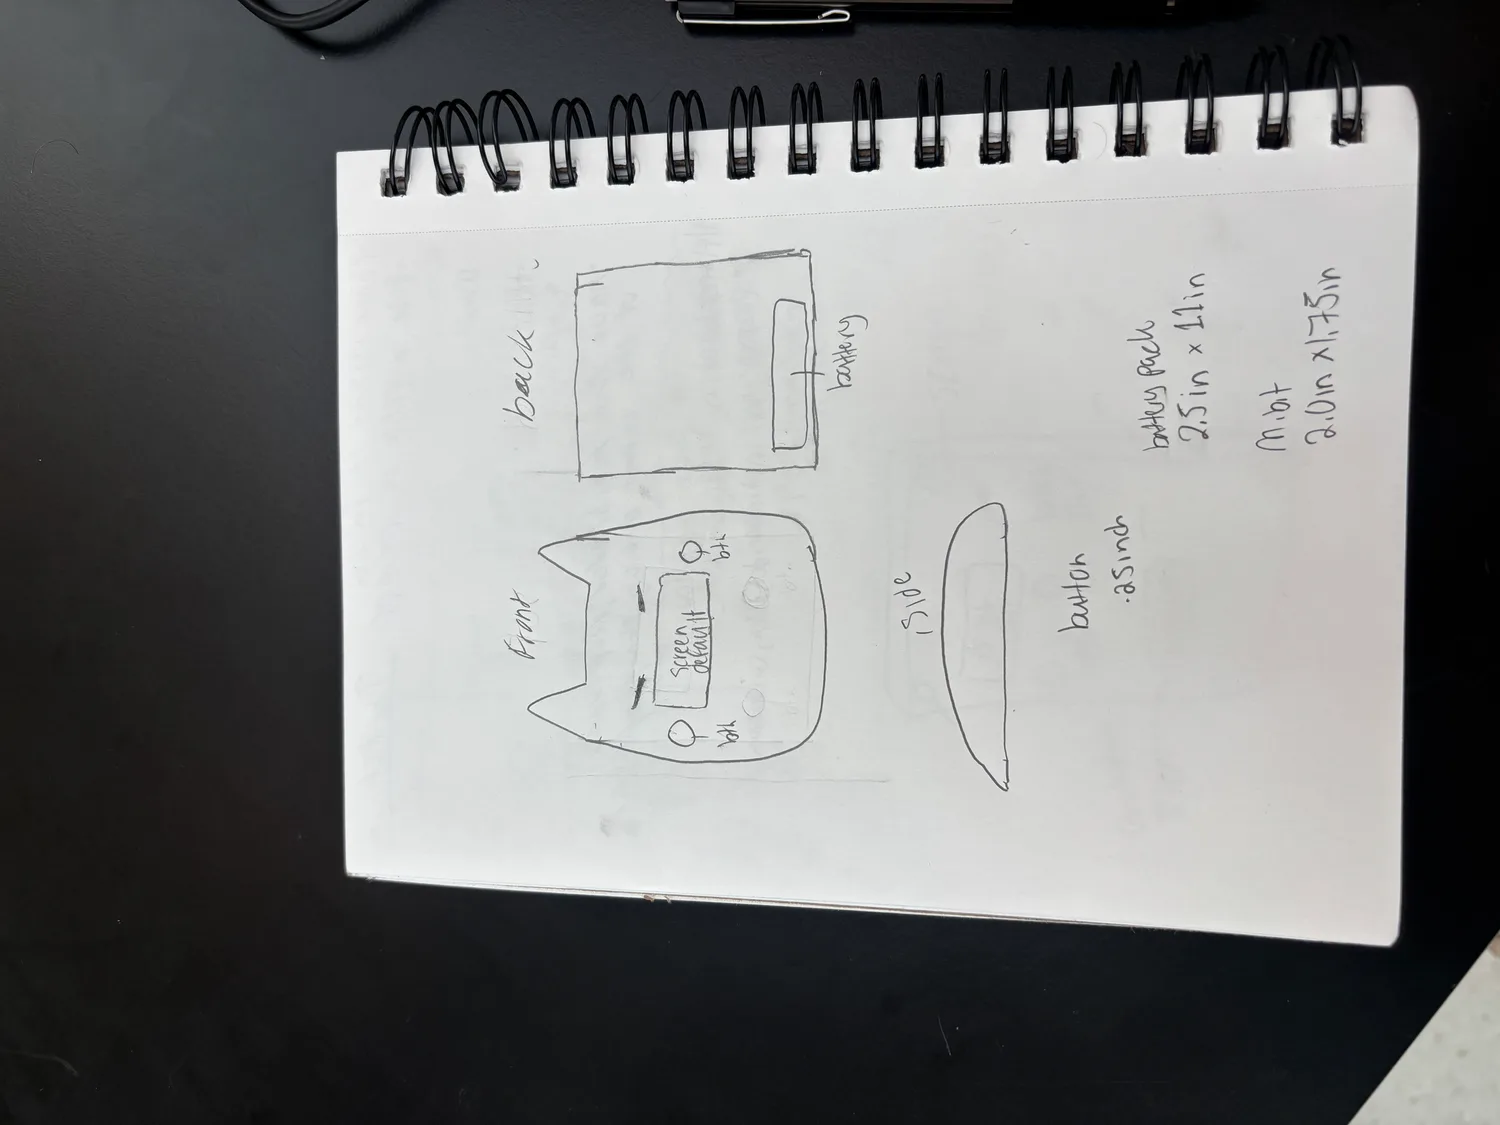
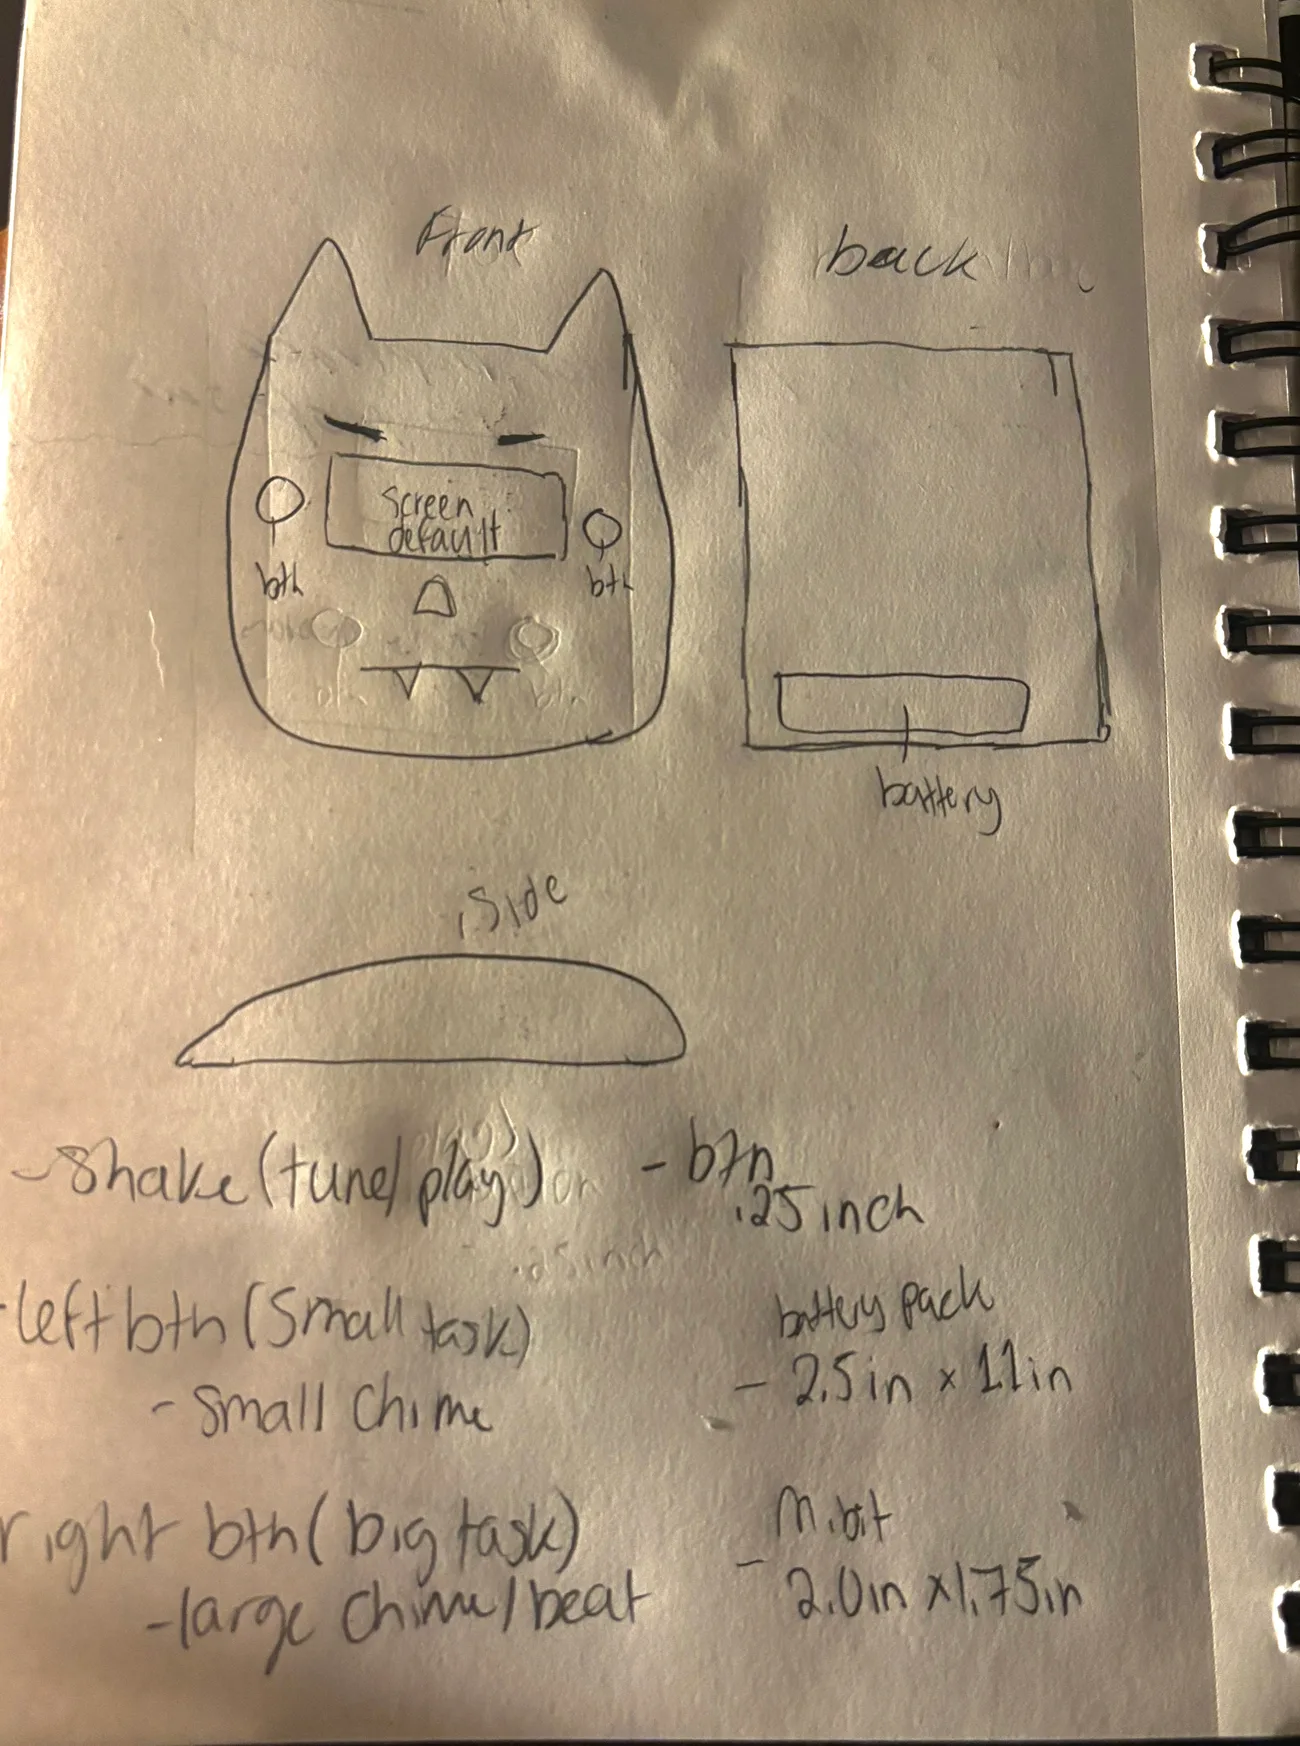
It ended up in cardboard rather than print. For a thing whose whole point is that you handle it every day, cutting a new one takes an evening, and that turned out to matter more than the finish.
What I Learned
The hardware is the interface, and it shows up early.
Most of the decisions on this were physical ones. Where the face sits, whether a button can be pressed through a wall, how big the shell has to be to hold a battery pack. Those came before any of the numbers in the code, and they set what the code could do.
“It was a really great experience learning how the micro:bit works and it was really cool seeing a lot of human-computer interaction with this project.”Final notes
The next version is the same idea on an Arduino, with a real screen and a battery pack, small enough to live in a pocket or on a desk and get used every day.
Worth knowing
- The program is MakeCode Python, commented so the decay rates and thresholds can be changed without reading all of it.
- Week one was built entirely from the micro:bit block editor, with no AI involved. The note saying so is in the repo.